
Installation
6 min read
Hot Water System Installation: What to Expect During the Process
Planning a hot water system installation? Understanding the process helps ensure a smooth experience. This guide covers everything from initial consultation to final testing, so you know exactly what to expect.
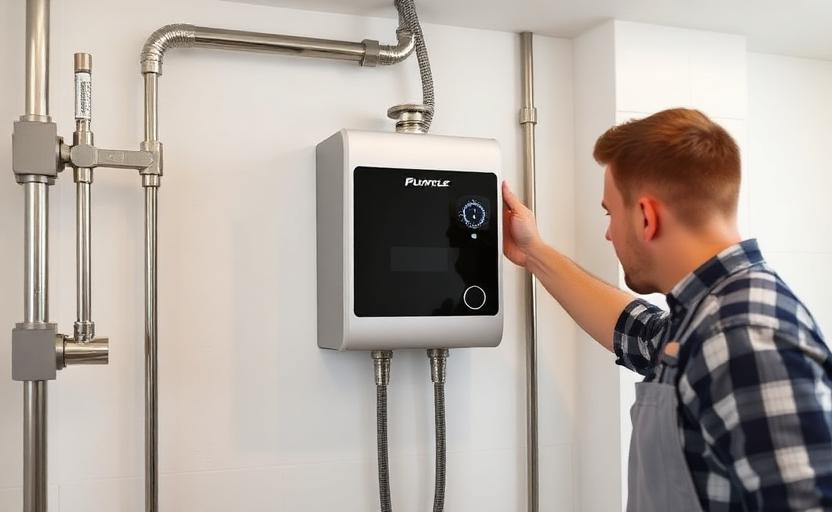
Professional Installation is Essential
Hot water system installation requires licensed professionals for safety, compliance, and warranty protection. Never attempt DIY installation of gas or high-voltage electric systems.
Phase 1: Initial Consultation and Assessment
Pre-Installation Evaluation
Comprehensive assessment of your needs and property
What the Technician Will Assess:
- Current hot water system condition and location
- Household hot water usage patterns and peak demand
- Available space for new system installation
- Existing gas, electrical, and plumbing connections
- Compliance with local building codes and regulations
- Access routes for equipment delivery and removal
Questions You Should Ask:
- What system type and size do you recommend for my household?
- What permits or approvals are required?
- How long will the installation take?
- What warranty coverage is included?
- Are there any ongoing maintenance requirements?
Phase 2: Pre-Installation Preparation
Homeowner Preparation
- Clear access paths to installation area
- Remove personal items from work area
- Ensure pets are secured away from work area
- Arrange temporary hot water if needed
- Confirm installation appointment details
Installer Preparation
- Obtain necessary permits and approvals
- Order correct system and components
- Schedule utility connections if required
- Prepare specialized tools and equipment
- Arrange old system disposal
Phase 3: Installation Day Process
Step 1: Old System Removal
Safe disconnection and removal of existing system
Process includes:
- Turn off gas, electricity, and water supplies
- Drain the existing hot water tank completely
- Disconnect gas lines, electrical connections, and plumbing
- Carefully remove old system and dispose of responsibly
- Clean and prepare installation area
Timeline: Old system removal typically takes 1-2 hours depending on accessibility and system type.
Step 2: Infrastructure Updates
Upgrading connections and infrastructure as needed
Potential upgrades:
- Gas line modifications or new connections
- Electrical circuit upgrades for higher capacity systems
- Plumbing adjustments for different pipe configurations
- Ventilation improvements for gas systems
- Structural support modifications if required
Note: Infrastructure work may extend installation time but ensures safe, compliant operation.
Step 3: New System Installation
Positioning and connecting your new hot water system
Installation process:
- Position new system in optimal location
- Connect all plumbing lines with proper fittings
- Complete gas or electrical connections safely
- Install pressure relief valve and safety devices
- Connect temperature and pressure monitoring
- Insulate pipes to prevent heat loss
Step 4: Testing and Commissioning
Comprehensive testing to ensure proper operation
Testing procedures:
- Pressure test all connections for leaks
- Test gas connections with leak detection fluid
- Verify electrical connections and safety switches
- Fill system and check all water connections
- Test heating operation and temperature control
- Verify pressure relief valve operation
- Check compliance with safety standards
Phase 4: Final Handover and Documentation
System Handover Process
Final steps and important documentation
Documentation Provided:
- Installation compliance certificates
- Manufacturer warranty documentation
- Operating and maintenance manuals
- System specifications and settings
- Emergency contact information
Operational Training:
- How to operate your new system
- Temperature adjustment procedures
- Basic maintenance requirements
- Warning signs to watch for
- When to call for service
Installation Timeline Expectations
Typical Installation Timeframes:
Standard Replacements
- Like-for-like replacement: 2-4 hours
- Different fuel type: 4-6 hours
- Different system type: 6-8 hours
Complex Installations
- New gas line required: 1-2 days
- Electrical upgrades needed: 1-2 days
- Solar system installation: 2-3 days
Post-Installation Care
First 24 Hours
- Monitor system operation and temperature consistency
- Check for any leaks around connections
- Test hot water at all outlets in your home
- Contact installer immediately if you notice any issues
First Week
- Familiarize yourself with system operation
- Register warranty with manufacturer
- Schedule any required follow-up inspections
- Note any changes in energy consumption
Professional Hot Water System Installation
Ready for a new hot water system? Our experienced technicians provide complete installation services with comprehensive warranties and ongoing support.